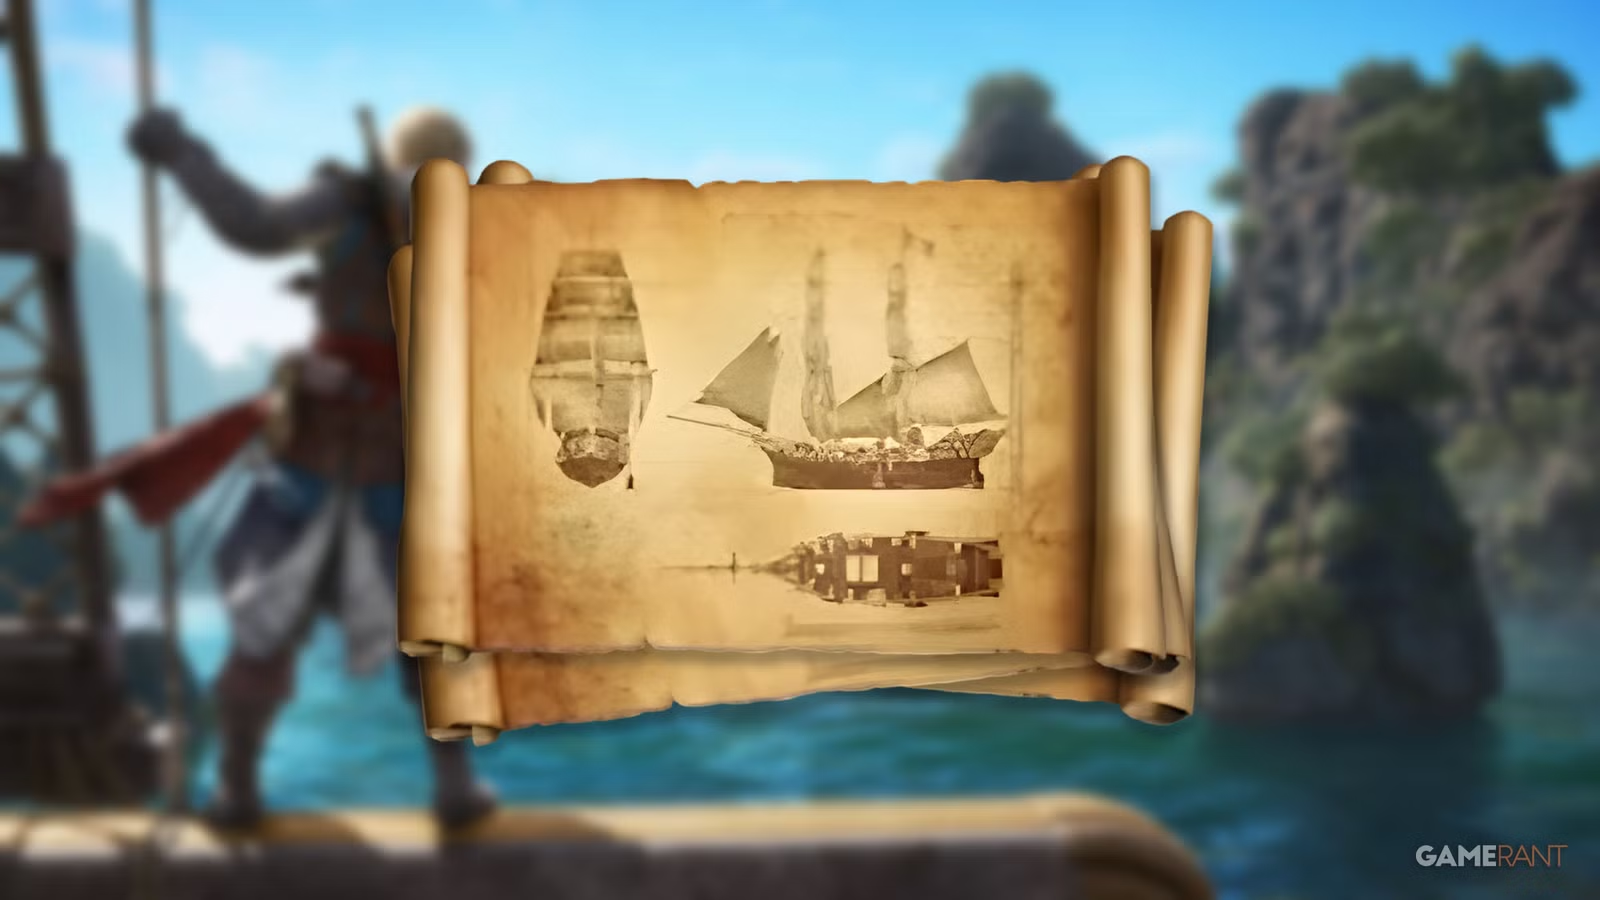
Assassin's Creed Black Flag Resynced: Final Ship Upgrade Locations (Ultimate Plans)


He will play anything as long as it's got something unique and original about it, though he's still yet to dip his toes into multiplayer battle arena games like Dota 2.
In his roles, he has applied the latest tools and workflows for project management, content creation, software development, and corporate risk evaluation.
One of his biggest achievements has been building management-level dashboards and delivering regular data analysis to help keep an organization’s security posture strong and continuously improving. In addition, he has worked with GameRant for over 3 years, authoring nearly 1,000 articles across a wide range of video game genres.
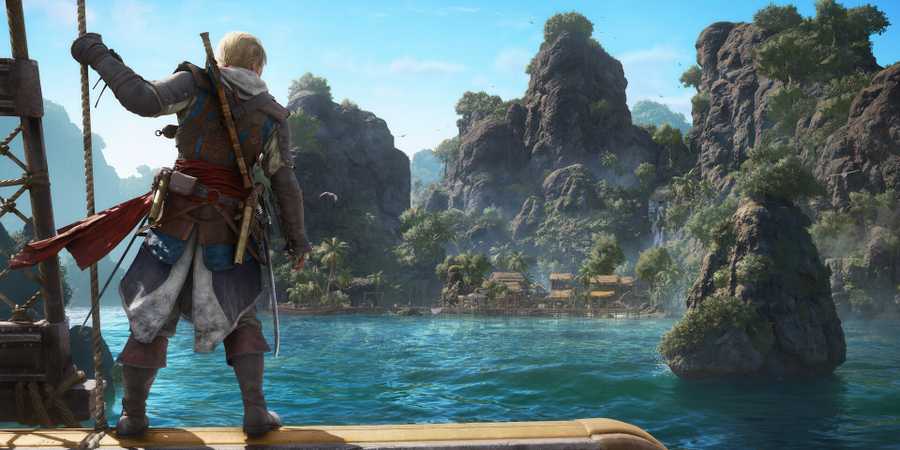
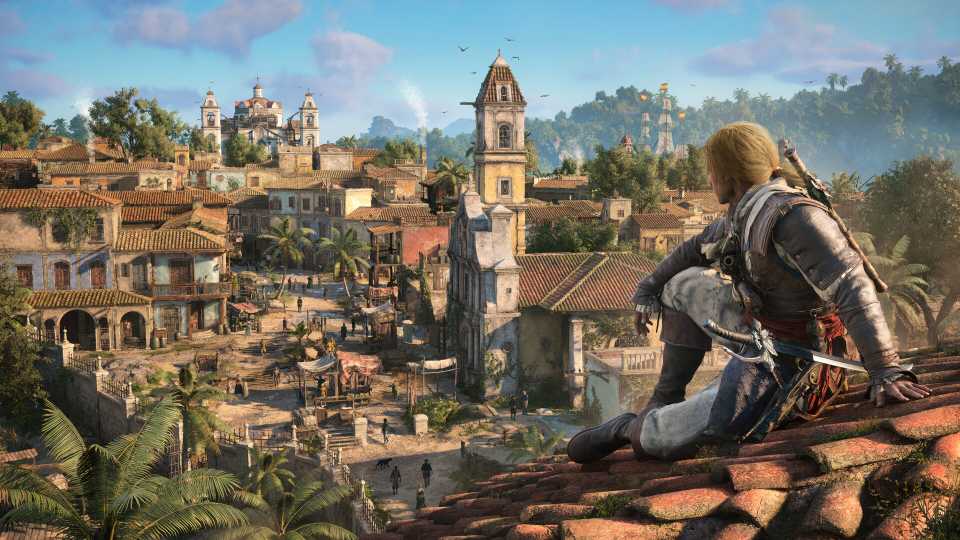
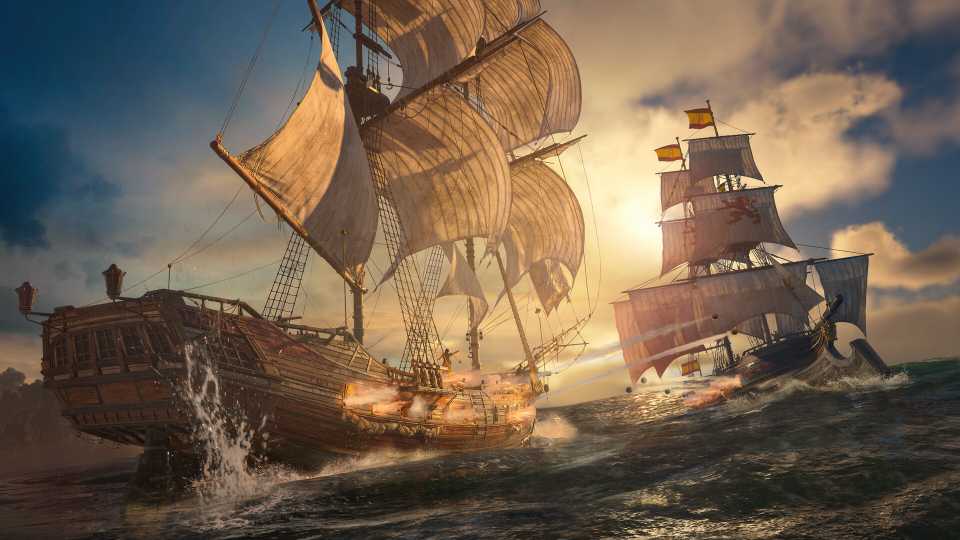
Since a large portion of Assassin's Creed Black Flag Resynced is spent sailing across the Caribbean, battling powerful ships, and capturing forts, keeping the Jackdaw fully upgraded should always be a priority. While most upgrades can be purchased at any Harbourmaster early on, there are 12 final upgrades that remain locked until you find their respective Ultimate Plans.
These blueprints are hidden inside shipwrecks or tied to treasure maps scattered throughout the world. This guide covers every Ultimate Plan location, along with coordinates to help you find them quickly.
All Ultimate Plan Locations in AC Black Flag Resynced
Round Shot Strength Ultimate Plan


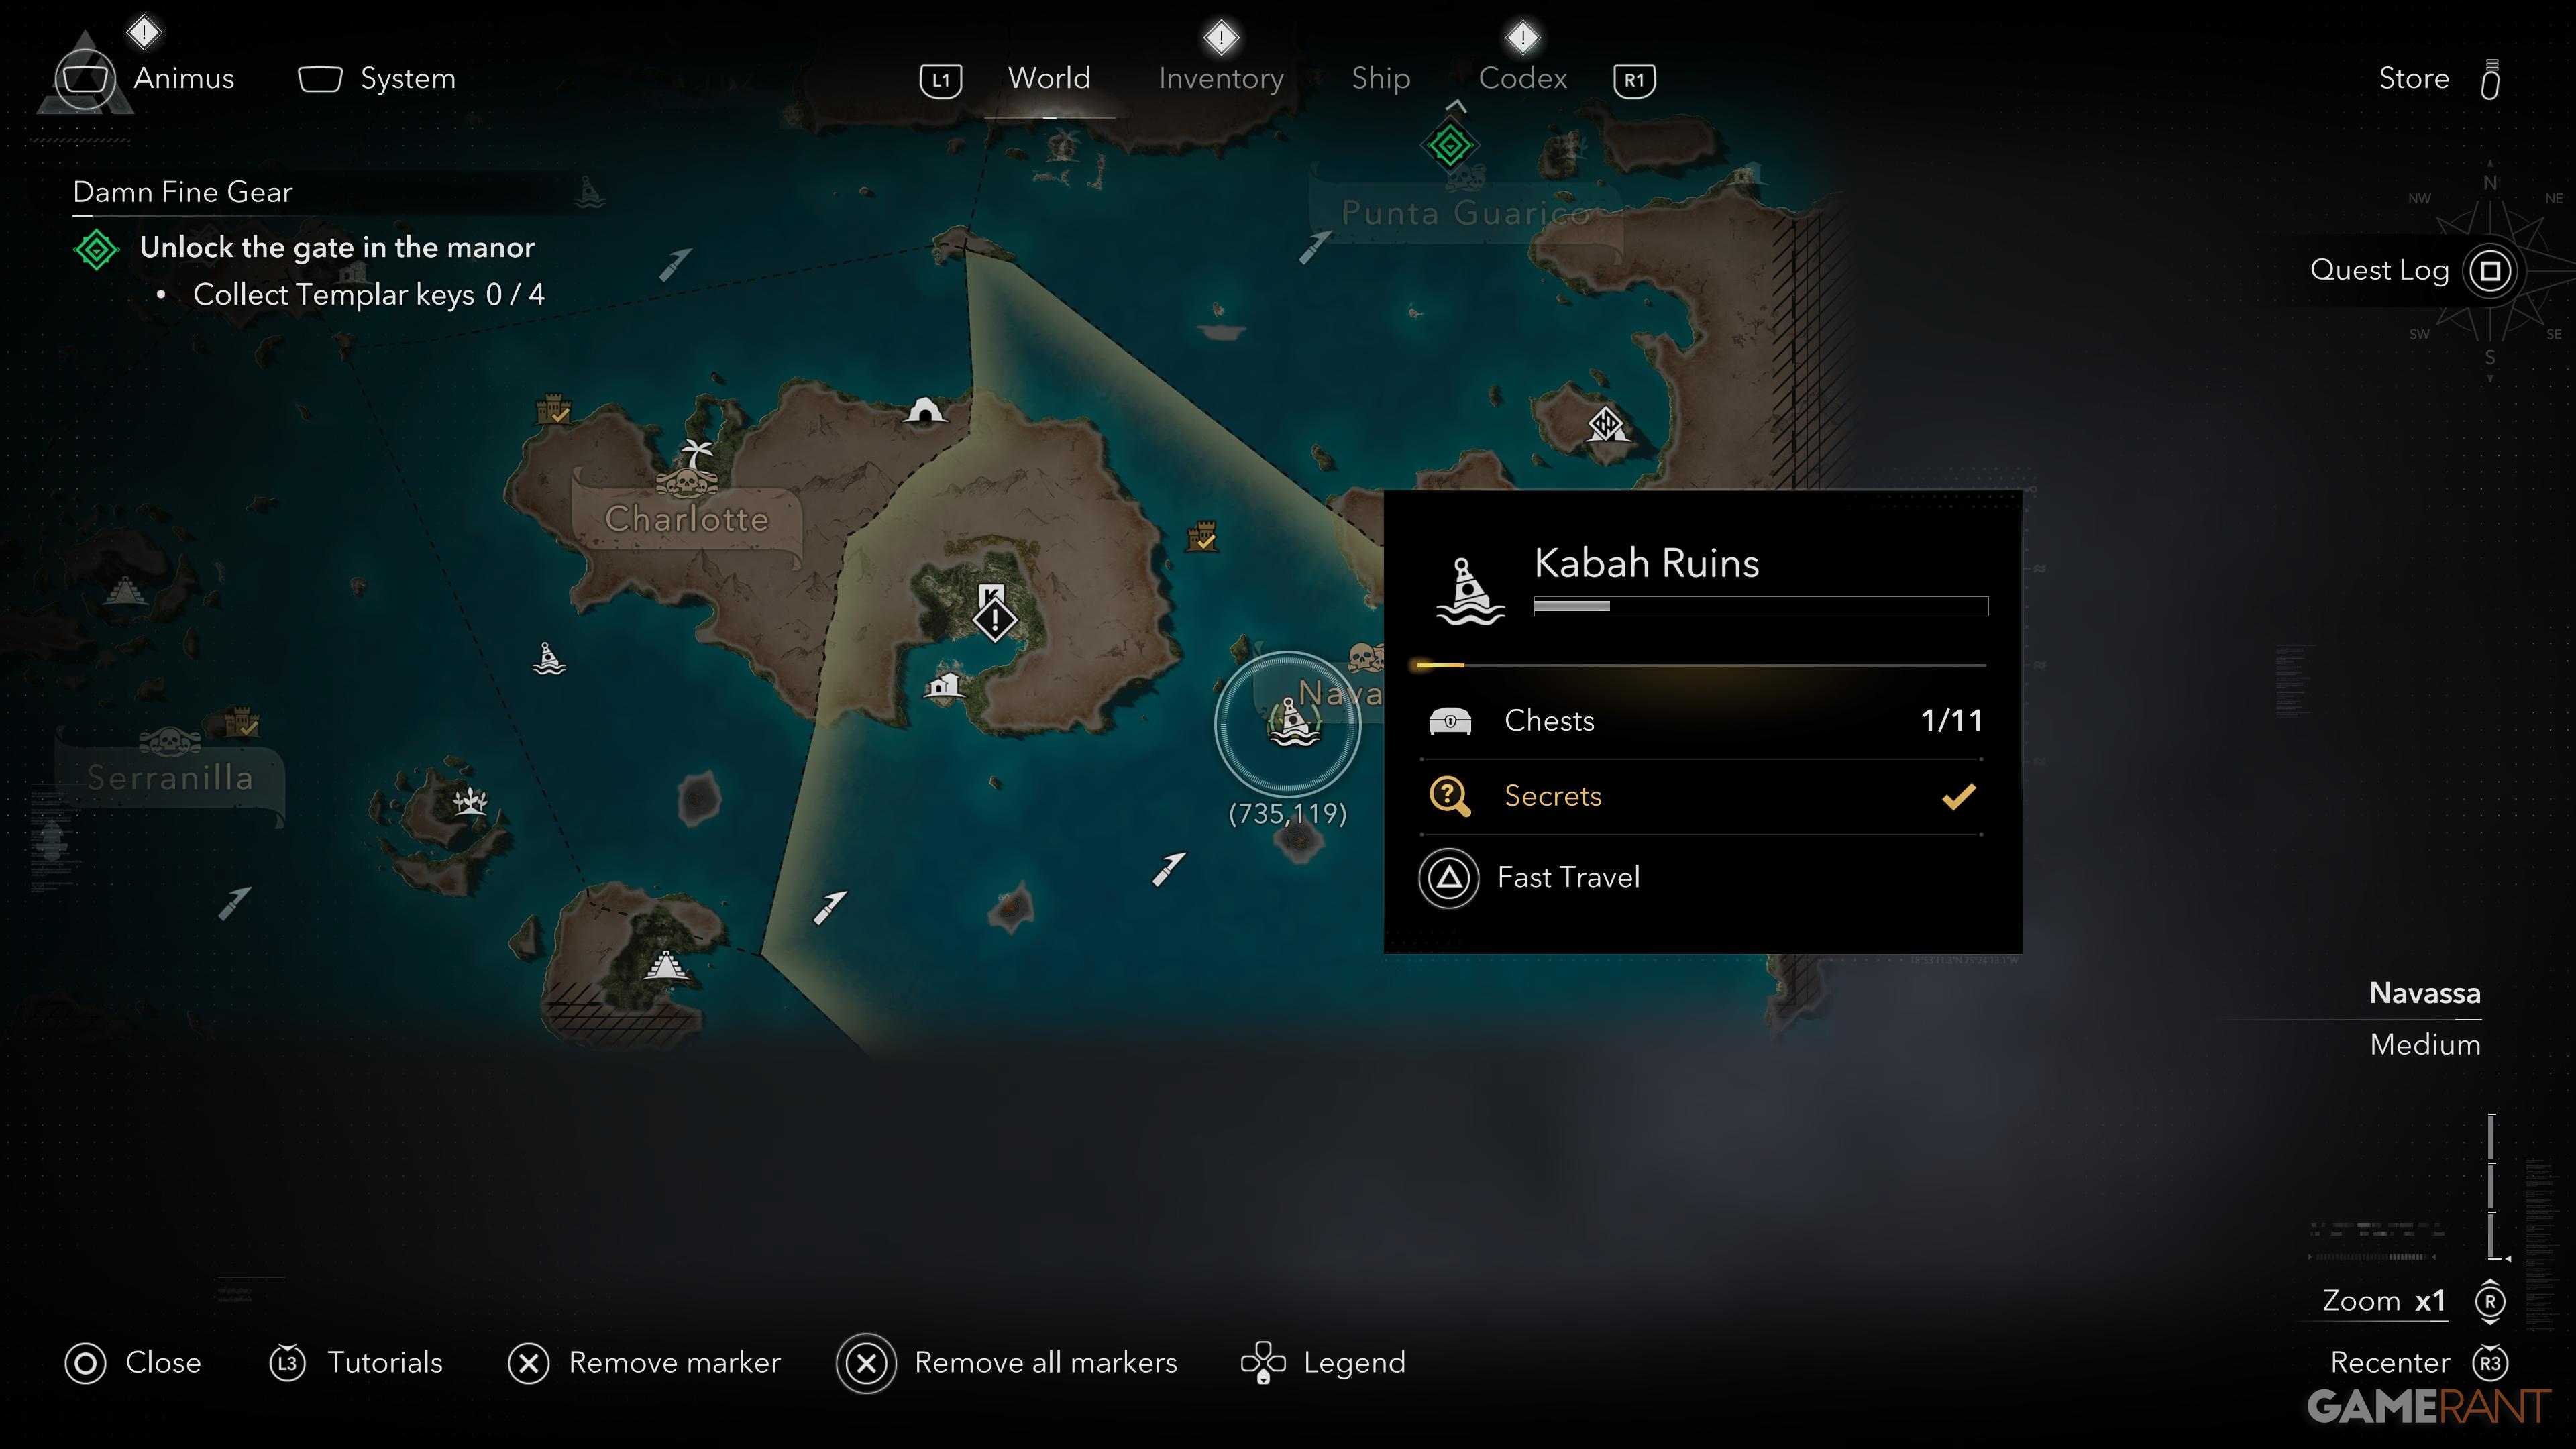 Image via GameRant | Sources: Ubisoft
 Image via GameRant | Sources: Ubisoft
 Image via GameRant | Sources: Ubisoft
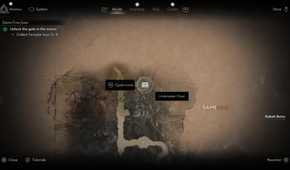
This Ultimate Plan is found inside the Kabah Ruins (735, 119). After going underwater using the Diving Bell, swim through the small gap to the north and continue all the way to the end of the area. On your right, you'll find a chest containing the Round Shot Strength Ultimate Plan.
Heavy Shot Strength Ultimate Plan


 Image via GameRant | Sources: Ubisoft
 Image via GameRant | Sources: Ubisoft
 Image via GameRant | Sources: Ubisoft
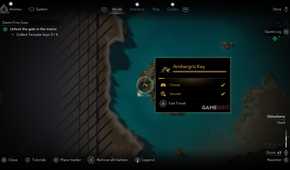
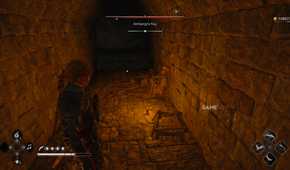
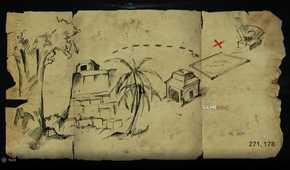
To obtain this upgrade, you first need to collect its treasure map. Travel to Ambergris Key (28, 159) and dive into the water to find an opening beyond the jellyfish. Continue through the cave, and once you reach the inner chambers filled with enemies, climb the pillars to find a skeleton holding the treasure map.


 Image via GameRant | Sources: Ubisoft
 Image via GameRant | Sources: Ubisoft
 Image via GameRant | Sources: Ubisoft
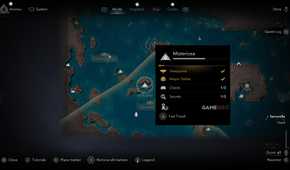
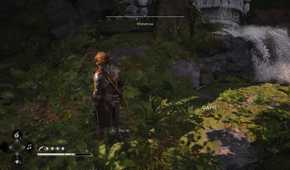
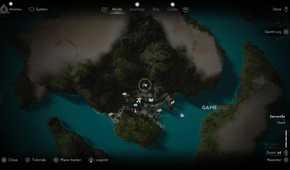
With the map in your possession, fast-travel to the synchronization point at Misteriosa, then head to the coordinates (271, 178). Dig at the marked location to obtain the Heavy Shot Strength Ultimate Plan.
Fire Barrel Strength Ultimate Plan


 Image via GameRant | Sources: Ubisoft
 Image via GameRant | Sources: Ubisoft
 Image via GameRant | Sources: Ubisoft
 Image via GameRant | Sources: Ubisoft
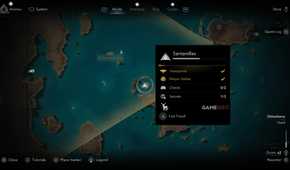
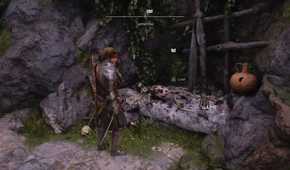
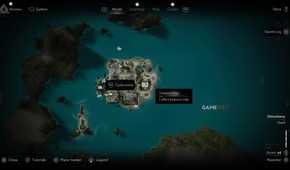
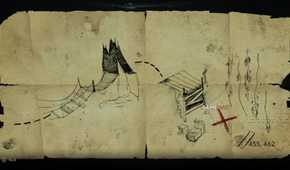
The treasure hunt for this upgrade begins at Santanillas (187, 219). Head slightly east to around (191, 218), where you'll find the treasure map resting on a skeleton lying across a rock slab.


 Image via GameRant | Sources: Ubisoft
 Image via GameRant | Sources: Ubisoft
 Image via GameRant | Sources: Ubisoft
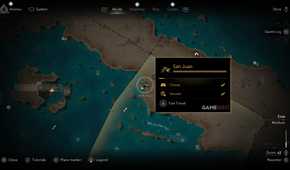
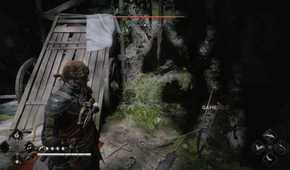
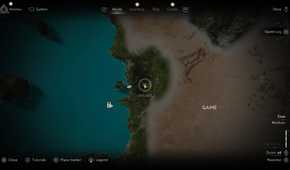
Next, travel to San Juan (454, 462) and dive underwater through the entrance near the jellyfish. Once you emerge onto land and deal with the lone enemy ahead, look to the right of the nearby cart to find the digging spot containing the Fire Barrel Strength Ultimate Plan.
Mortars Ultimate Plan


 Image via GameRant | Sources: Ubisoft
 Image via GameRant | Sources: Ubisoft
 Image via GameRant | Sources: Ubisoft
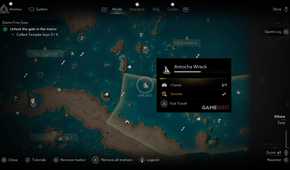
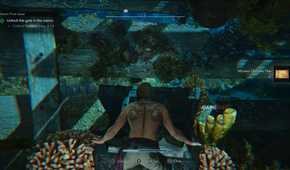
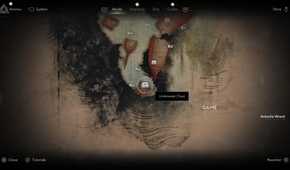
Head to the Antocha Wreck (596, 637) and use the Diving Bell to explore the wreck. Swim to the extreme southern part of the area, where you'll find a chest containing the Mortars Ultimate Plan.
Swivel Guns Ultimate Plan


 Image via GameRant | Sources: Ubisoft
 Image via GameRant | Sources: Ubisoft
 Image via GameRant | Sources: Ubisoft
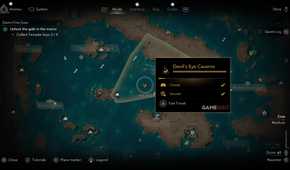
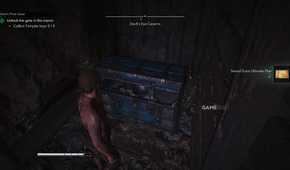
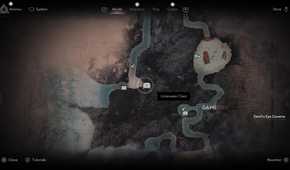
Travel to Devil's Eye Caverns (456, 332) and dive underwater. Follow the northern route through the cavern until you surface completely. As soon as you come out of the water, look to your left to find a chest containing the Swivel Guns Ultimate Plan.
Broadside Cannons Number Ultimate Plan


 Image via GameRant | Sources: Ubisoft
 Image via GameRant | Sources: Ubisoft
 Image via GameRant | Sources: Ubisoft
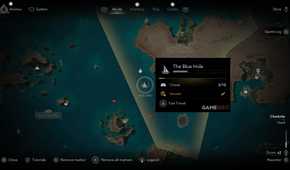
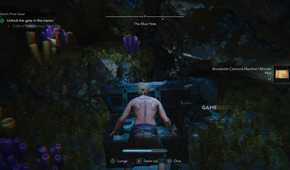
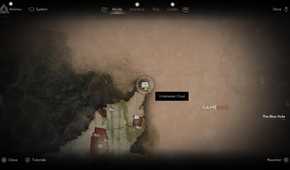
Sail to the Blue Hole Shipwreck (440, 145) and descend underwater. Swim toward the extreme northern end of the wreck, where you'll find a chest containing the Broadside Cannons Number Ultimate Plan.
Ram Ultimate Plan


 Image via GameRant | Sources: Ubisoft
 Image via GameRant | Sources: Ubisoft
 Image via GameRant | Sources: Ubisoft
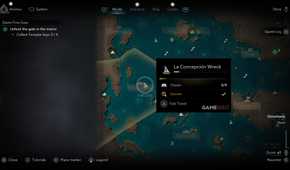
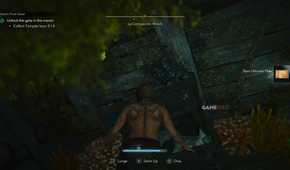
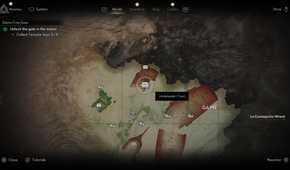
The Ram Ultimate Plan is located inside the La Concepcion Wreck (147, 272) on the western side of the map. Swim north after entering the wreck, and the very first chest inside the broken ship contains the upgrade plans.
Hull Armor Ultimate Plan


 Image via GameRant | Sources: Ubisoft
 Image via GameRant | Sources: Ubisoft
 Image via GameRant | Sources: Ubisoft
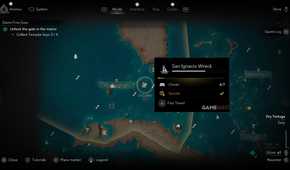
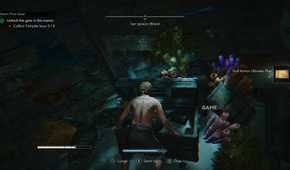
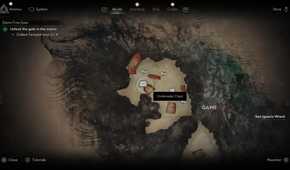
Travel to the San Ignacio Wreck in the Dry Tortuga region at (348, 742). After descending with the Diving Bell, swim north through the opening before turning northwest. You'll find the underwater chest containing the Hull Armor Ultimate Plan.
Heavy Shot Storage Ultimate Plan


 Image via GameRant | Sources: Ubisoft
 Image via GameRant | Sources: Ubisoft
 Image via GameRant | Sources: Ubisoft
 Image via GameRant | Sources: Ubisoft
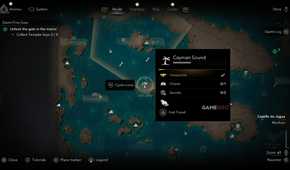
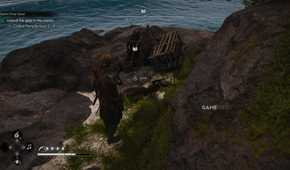
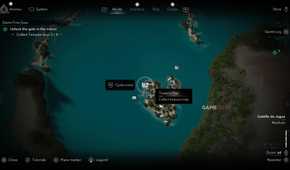
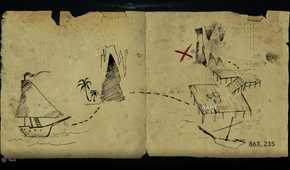
To begin, head to Cayman Sound (301, 309) to collect the treasure map. The map is found on a body lying beside several broken barrels (298, 311).


 Image via GameRant | Sources: Ubisoft
 Image via GameRant | Sources: Ubisoft
 Image via GameRant | Sources: Ubisoft
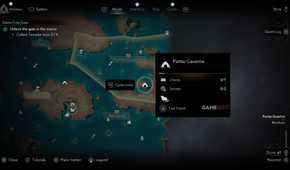
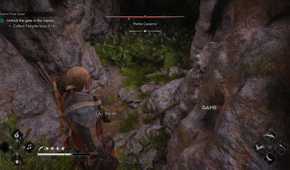
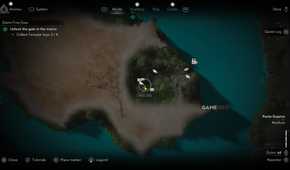
After obtaining it, travel to Petite Caverne (864, 237). Enter the cave and continue to the far eastern side near the waterfall guarded by several enemies. The digging spot here contains the Heavy Shot Storage Ultimate Plan.
Fire Barrel Storage Ultimate Plan


- Image via GameRant | Sources: Ubisoft
 Image via GameRant | Sources: Ubisoft
 Image via GameRant | Sources: Ubisoft
 Image via GameRant | Sources: Ubisoft
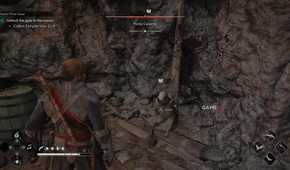
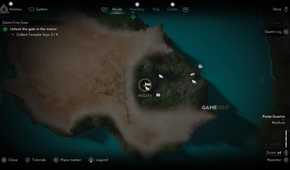
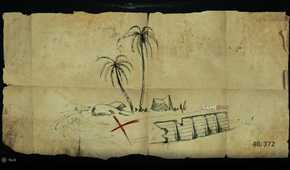
In the same area where you dug up the Heavy Shot Storage Ultimate Plan, you'll also find a treasure map nearby. It's attached to a dead body tied to a wooden pole.


 Image via GameRant | Sources: Ubisoft
 Image via GameRant | Sources: Ubisoft
 Image via GameRant | Sources: Ubisoft
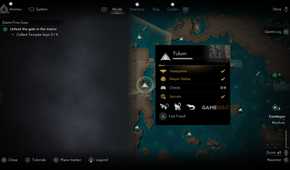
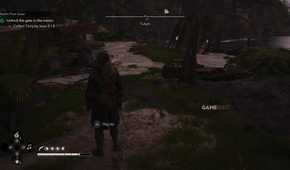
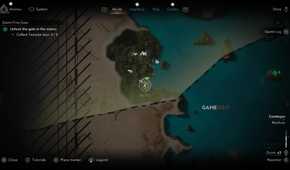
Once you have the map, travel to Tulum (37, 384). Starting from the synchronization point to the south, continue further south until you reach the end of the path. Near the broken ship pieces, you'll find a small patch of ground beside a tree. Dig here to obtain the Fire Barrel Storage Ultimate Plan.
Mortar Storage Ultimate Plan


 Image via GameRant | Sources: Ubisoft
 Image via GameRant | Sources: Ubisoft
 Image via GameRant | Sources: Ubisoft
 Image via GameRant | Sources: Ubisoft
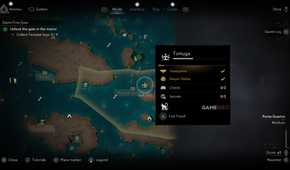
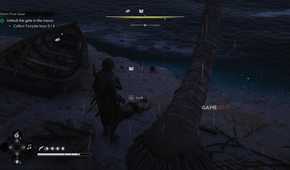
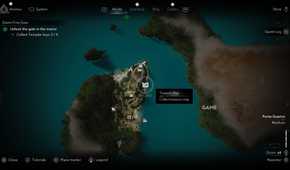
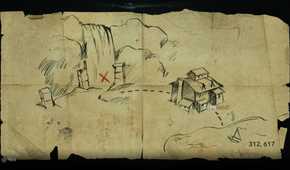
The treasure map for this upgrade is located on Tortuga (848, 350). Head to the northeastern section of the island to find a skeleton beside the small boat that returns you to the Jackdaw. The treasure map is lying next to it.


 Image via GameRant | Sources: Ubisoft
 Image via GameRant | Sources: Ubisoft
 Image via GameRant | Sources: Ubisoft
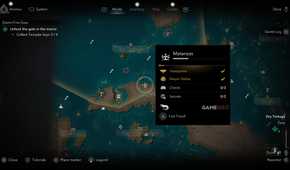
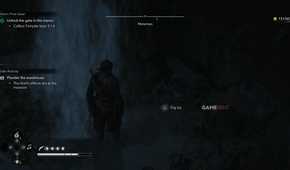
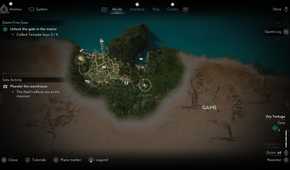
With the map collected, sail to Matanzas (304, 622). Head toward the far southeastern side of the area, passing the enemies and the Warehouse until you reach a waterfall. Walk behind the waterfall and dig to obtain the Mortar Storage Ultimate Plan.
Harpoon Strength Ultimate Plan


 Image via GameRant | Sources: Ubisoft
 Image via GameRant | Sources: Ubisoft
 Image via GameRant | Sources: Ubisoft
 Image via GameRant | Sources: Ubisoft
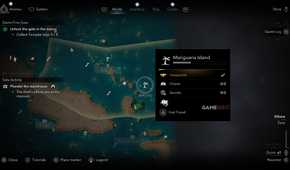
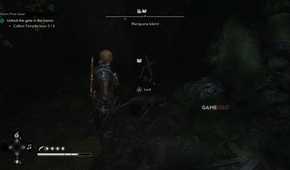
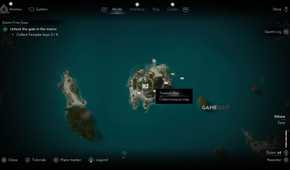
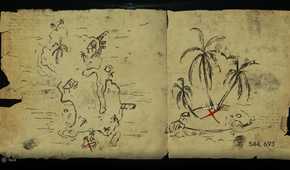
Start by traveling to Mariguana Island (847, 514). The treasure map is located near the center of the island, but the entrance is hidden beneath tall grass. Crouch through the small opening to reach a hidden chamber where you'll find a chest ahead and the treasure map resting to your left.


 Image via GameRant | Sources: Ubisoft
 Image via GameRant | Sources: Ubisoft
 Image via GameRant | Sources: Ubisoft
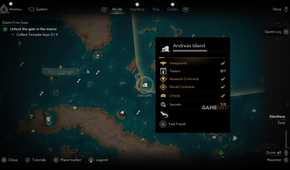
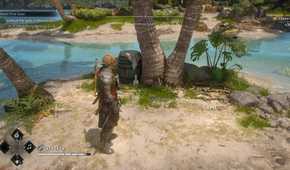
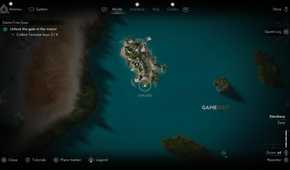
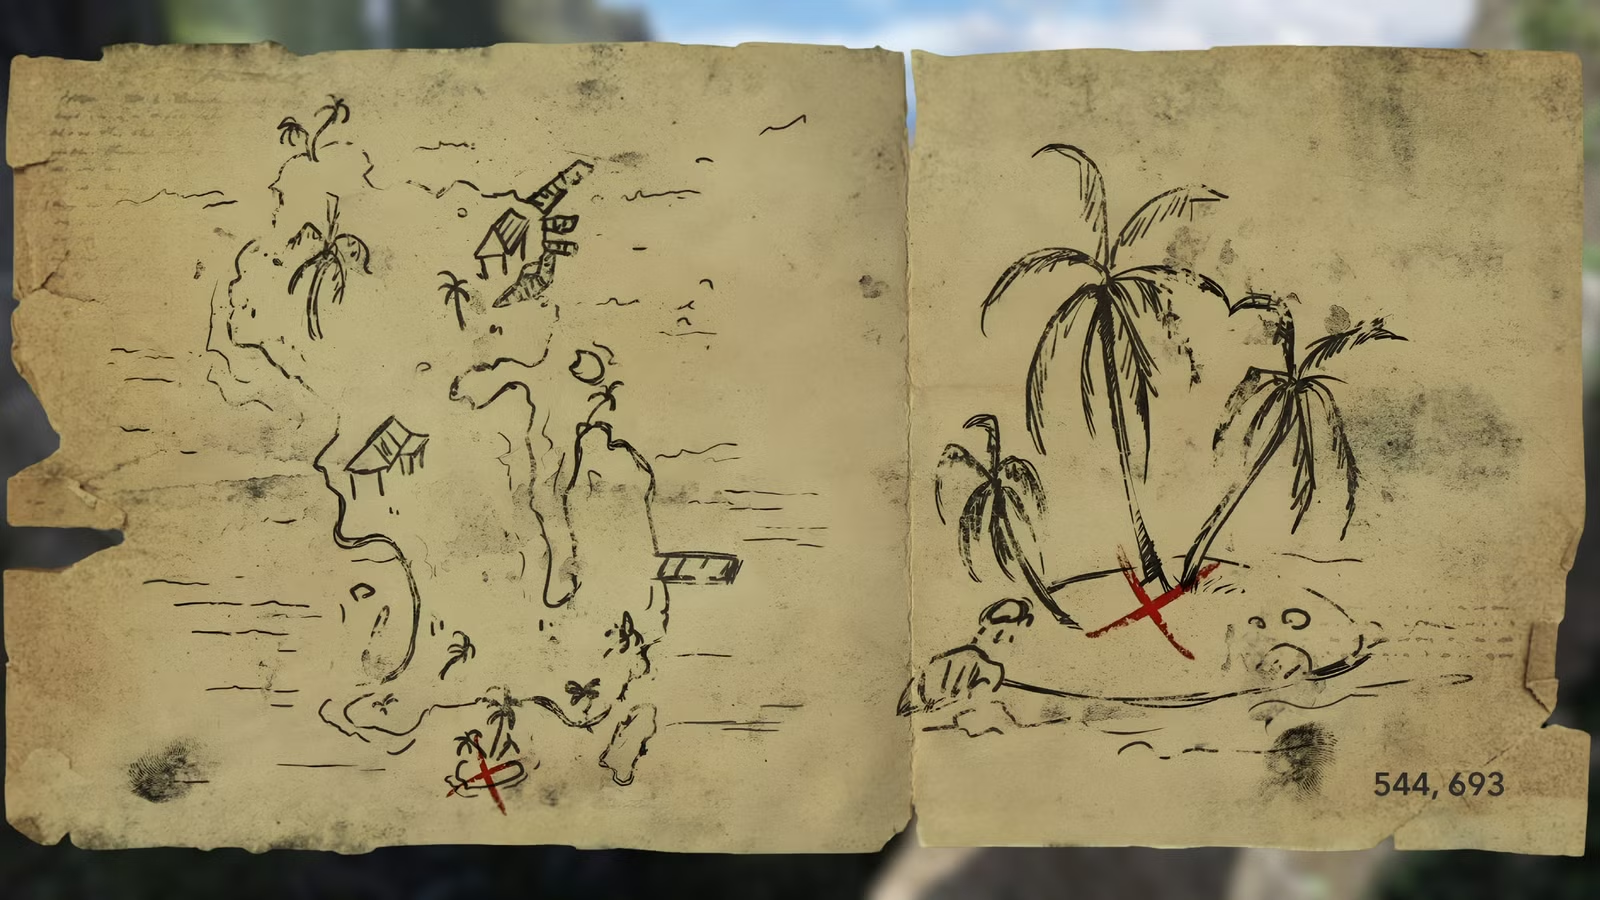
After collecting the map, travel to Andreas Island (543, 699) and continue south. At the extreme southern end is a small island with the digging spot in the middle, where you'll uncover the Harpoon Strength Ultimate Plan.
Tips on Which Ultimate Upgrades to Prioritize First

If you're planning to collect all of the Ultimate Plans before purchasing the upgrades, be prepared to spend around 190,000 Reales, along with a huge amount of Wood and Metal. If you're short on money or resources, it's much better to prioritize a few key upgrades instead of buying everything at once.
Your first priority should be upgrading the Hull Armor to increase the Jackdaw's survivability. After that, focus on the Broadside Cannons, both their damage and the number of cannons you can fire. These ship upgrades make the biggest difference during naval battles and make taking on larger ships and forts much easier than investing in the smaller upgrades first.

When it comes to farming the required resources, Assassin Contracts and Naval Contracts are excellent sources of Reales. Capturing forts is another great option, as they reward you with money, Metal, and Wood while also revealing more of the map and unlocking additional Fleet missions.

If you're further into the game, head to the southern, higher-level regions and start hunting Man o' Wars. These ships carry massive amounts of resources, and after boarding them and lowering their morale, there's also a chance to obtain the Captain's Lockbox, which contains even more money and crafting materials.
Once you've unlocked every Ultimate Upgrade, you'll be in the perfect position to challenge the Legendary Ships scattered across the Caribbean. These are some of the toughest naval encounters in Assassin's Creed Black Flag Resynced, so it's well worth making sure the Jackdaw is fully upgraded before taking them on.




- Released
- July 9, 2026
- ESRB
- Mature 17+ / Blood, Sexual Themes, Strong Language, Use of Alcohol, Violence / In-Game Purchases, Users Interact
- Developer(s)
- Ubisoft
- Publisher(s)
- Ubisoft
- Franchise
- Assassin's Creed



WHERE TO PLAY






Source link